Constructing your dock can be a budget friendly endeavor offering a practical and delightful area on your waterfront land. This undertaking necessitates meticulous preparation, compliance with safety measures and careful deliberation of the dock's intended use and layout.
Understanding the Basics of DIY Docks
What is a DIY Dock?
A DIY dock, also known as a Do It Yourself dock, is a structure that individuals construct themselves without the assistance of dock builders or contractors. Typically situated near lakes, rivers or ponds, DIY docks have uses. They allow people to access the water, provide a designated area for fishing or recreational activities and offer a spot for docking boats.
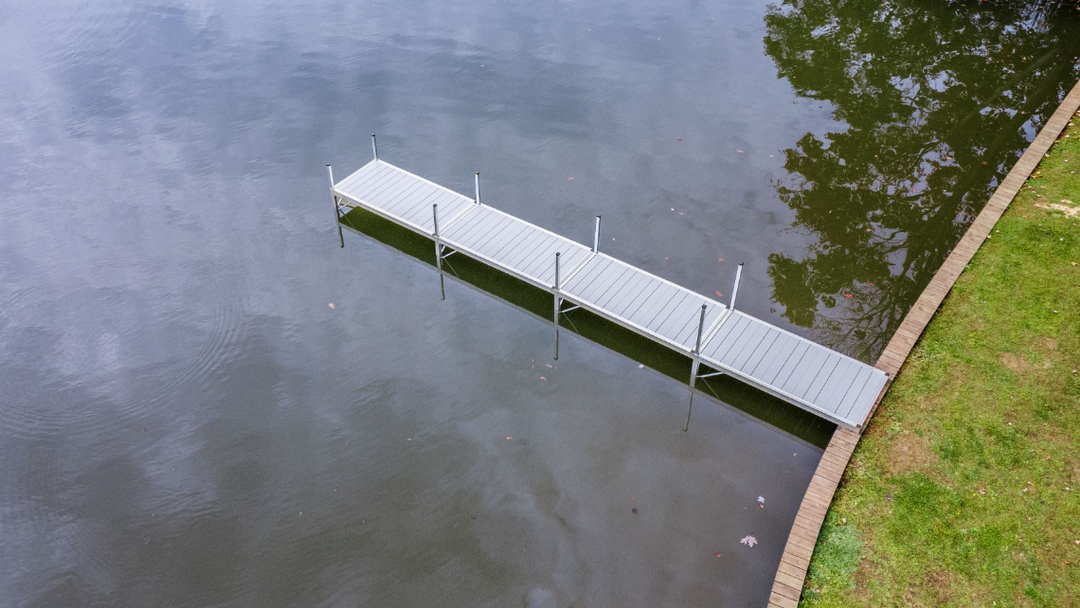
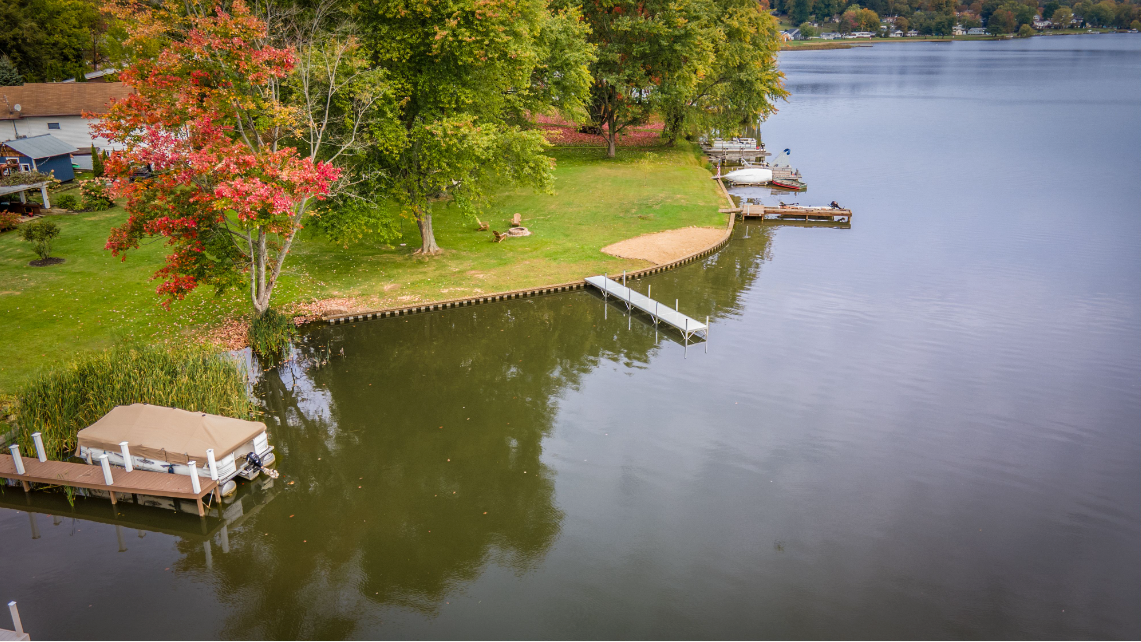
Several types of DIY docks meet specific needs and adapt to waterfront characteristics. Examples include Floating Docks, which rest on the water's surface with buoyant support; Fixed Docks, built on pilings for stable locations; and Rolling Docks, featuring wheels for easy installation and removal, suitable for changing water levels or seasonal use.
Advantages of Building Your Own Dock:
- Cost efficiency: Building your docks can be an economical option compared to hiring professionals. It grants you the freedom to select materials and has control over expenses during the entire construction phase.
- Customization: Building your dock offers customization to match your needs and preferences. You are free to choose the size, shape and features that perfectly match your waterfront property and meet your intended requirements.
- Feeling of Achievement: When you finish a do it yourself dock project, it brings a sense of accomplishment. It fills you with a sense of pride and satisfaction. You can take joy in creating a visually pleasing structure using your skills and hands.
- Learning Experience: Building a dock provides a valuable opportunity to acquire practical woodworking, construction, and project management skills.
- Adaptability: Creating DIY docks with adaptability in mind allows for future modifications or expansions. This flexibility is particularly beneficial as your needs or circumstances change over time.
Building a dock requires careful planning, following local regulations, and considering environmental impact. Prioritizing safety is crucial, and seeking guidance from local authorities or experts for construction and necessary permits is advisable.
Planning Your DIY Dock Project
Assessing Your Needs and Location:
- Water Depth: Before heading to your destination it's important to consider the water's depth. You'll find that different types of docks such, as floating ones are specifically designed to accommodate varying water depths. Consider the range of water levels throughout the year.
- Climate: Consider the local climate. If your region experiences weather conditions such, as storms, strong winds or freezing temperatures make sure that the design of your dock includes elements that can endure these situations.
- Usage: Identify the primary purpose of your dock. Will it be used for recreational activities, boat mooring, fishing, or simply as a scenic platform? Your usage requirements will guide the design and features of the dock.
Designing Your Dock:
Explore various design options based on your assessed needs and location specifics. Consider different sizes, layouts, and materials. Floating docks adjust to changing water levels, providing flexibility, while fixed docks offer stability in consistent conditions. Consider materials like wood, aluminium, or composite, each with unique advantages and disadvantages. Tailor the design to seamlessly integrate with your waterfront property and cater to the activities you envision on the dock.
Considering these factors during the planning phase will set a solid foundation for a successful and customized DIY dock project.
Materials and Tools Needed
Choosing the Right Materials
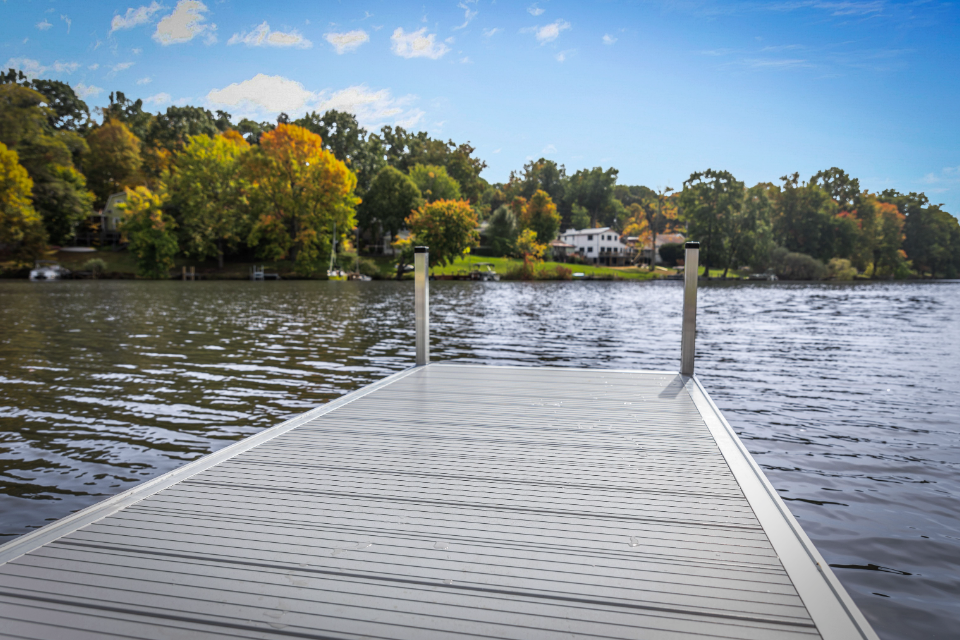
While selecting the materials for your DIY dock, it's important to consider the pros and cons of wood, aluminium and composite options. Wood is a choice but requires regular maintenance and is prone to decay. On the other hand, aluminium is lightweight and durable, although it can be pricier and offers opportunities for customization in terms of its look. Composite materials resist decay and need low maintenance, but they might be more expensive and offer fewer color choices.
Essential Tools for Dock Building
Before you start, it's essential to gather all the tools. You will need power tools, like a saw and a drill along with hand tools such as a hammer and a set of screwdrivers. Don't forget to have leveling and measuring tools well. Safety should be your priority so make sure to wear safety glasses and gloves. Also, remember to have construction accessories, like lag screws and bolts. Lastly, follow safety guidelines and local building codes so that your DIY dock's structurally sound and safe.
Step-by-Step Guide to Building Your Dock
Preparing the Site
Clear the Area by removing debris, vegetation, and obstacles. Measure the water depth and mark the dock's location boundaries, ensuring compliance with local regulations.
Constructing the Frame
Install Support Posts by digging holes and securely placing them. Connect Beams to the tops of support posts, add perpendicular Joists, and secure with galvanized hardware. Create a Decking Substructure by attaching decking joists to the frame.
Decking and Finishing Touches
Start by selecting the kind of material you prefer for your dock, such as wood, aluminum or composite. After that, utilize a saw or miter saw to cut the material to size and securely fasten the boards to the joists using corrosion screws. Additionally, you might want to consider adding accessories like ladders for water access and bumpers for protecting your boat.
Remember to prioritize safety by following guidelines and obtaining any permits. Also, take into account the impact of your project. To ensure that your DIY dock lasts term, maintain it by cleaning and conducting inspections.
Maintenance and Upkeep
Regular Maintenance Tips
Ongoing care is crucial for the longevity of your DIY dock. Follow these simple maintenance tips regularly to keep it in top condition:
- Inspect Regularly: Plan regular checks to spot any signs of wear, corrosion, or loose components. Taking action to tackle these concerns can help mitigate long term consequences.
- Cleaning: Make sure you clean your dock on a basis to get rid of any debris, algae or other possible dangers. This not improves the appeal of your dock but also helps safeguard it against long term damage.
Winterizing Your Dock
Getting your dock ready for winter is crucial in cold climates. Below are the steps for a successful winterization process:
- Removing Accessories: Before winter's arrival, take off detachable items such as ladders and bumpers. This safeguards them from harsh winter conditions and extends their lifespan.
- Securing for Winter: Ensure your dock is securely anchored. Harsh winter weather, including ice and strong winds, can exert considerable force on your dock. Securing the anchor properly reduces the risk of damage in winter.
Conclusion
In summary, crafting your DIY dock is more than constructing a structure; it's a fulfilling journey that blends creativity, practicality, and a sense of accomplishment. This exploration provides insights into your dock project's planning, construction, and maintenance.
Starting this DIY journey lets you tailor the dock to match your specific needs and preferences, crafting a distinctive space for enjoyment and functionality. So, gather your materials, tools, and enthusiasm, and embark on the fulfilling adventure of creating your personalized DIY dock. May the process bring you joy, satisfaction, and a newfound appreciation for your waterfront space.